Establishing a Connection Through a Virtual Serial Port
In this section, you will see how to create a Virtual Serial Port using the Connection Wizard , associate it with a DS, and then connect to it using HyperTerminal .
| • | Click Start > Programs > Tibbo > Connection Wizard: |
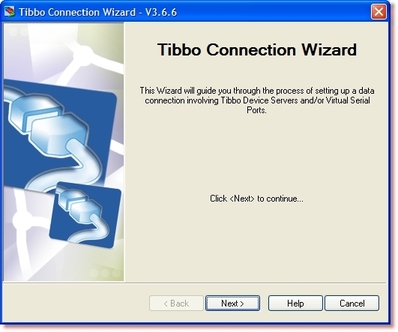
| • | Click Next. |
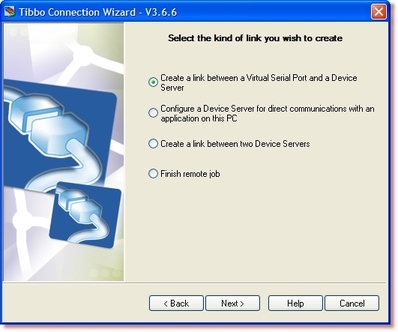
| • | Select Create a link between a Virtual Serial Port and a Device Server. Click Next. |
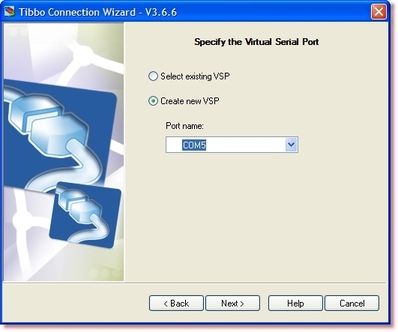
| • | Select Create new VSP and select the Port name. Remember what port you created, you will need it for later. Click next. |
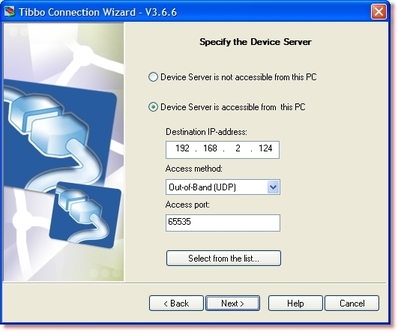
| • | Click Select from the list. |
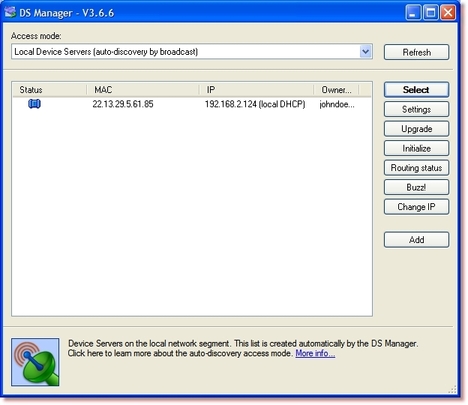
| • | Select the DS you would like to work with. If its IP address is invalid (it says so on the status bar), click Change IP. |
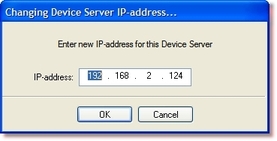
| • | Having made sure the IP of the device is correct, select the DS in the list, click Select to go back to the Wizard, and click Next. |
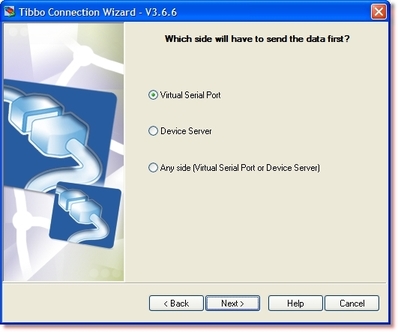
| • | Select Virtual Serial Port. Click Next. |
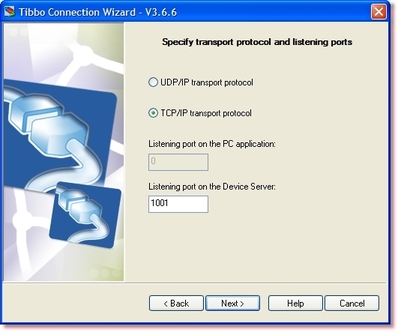
| • | Select TCP/IP transport protocol. Don't change the port, but remember it's 1001. You'll need this for later. |
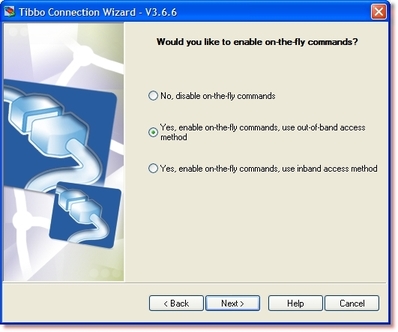
| • | Select Yes, enable on-the-fly commands, use out-of-band access method. |
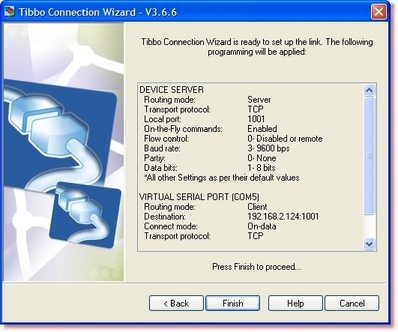
| • | This is just a summary screen. Click Finish. |
Configuring HyperTerminal
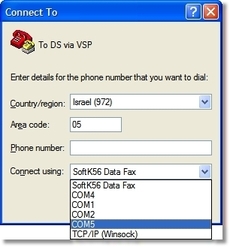
Now that you have a Virtual Serial Port, it's time to continue configuring HyperTerminal . We continue from where we left off on Setting Correct Parameters on Startup . In the next window, open the Connect using drop-down, and select COM5 (assuming created a VSP under COM5):
The next screen deals with serial settings. Here you have to select the correct serial parameters. In this case it's not so important what you choose, but keep in mind the following:
| • | If you're going to connect a serial device for testing with HyperTerminal, of course the settings you choose here much be compatible with this device. |
| • | If you are going to perform a loopback test, set Flow control to None: |
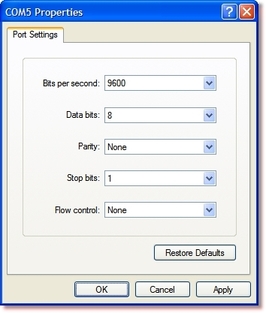
After setting the desired parameters, click OK. That's it! You've now established a connection with the DS100 via the Virtual Serial Port . Continue on to Using HyperTerminal to Test a Connection .