Using the BLE Firmware Updater Web App
- Make sure your Tibbo device is not connected to the network — this will allow it to enter the Bluetooth Low Energy (BLE) update mode.
- For Tibbo devices with an Ethernet port, this is as easy as making sure that the Ethernet cable is not plugged in.
- For the WM2000 and the WS1102, you need to prevent the device's association with an access point. To achieve this:
- Power down your access point(s) or more the device out of your Wi-Fi network's range
- Alternatively, set the autoconnect parameter of the Device Configuration Block (DCB) to no. This can be done either via the BLE console or the Companion App that ships preloaded on WM2000 modules. Note that the WM2000 ships with autoconnect set to no.
- The M/L flowchart shows how to place your device in the update mode's BLE Phase. Alternatively, follow this step-by-step infographic:

 On the WM2000 and WS1102, you can skip the wait by pressing and releasing the MD button before the device associates with an access point.
1. On your PC, open the BLE Firmware Updater web app.
2. Click on the number "4" to skip to the final slide.

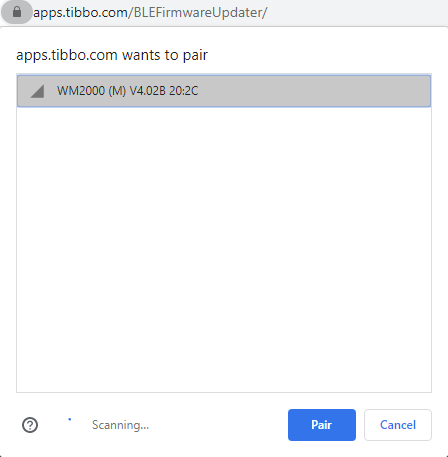
3. Click Connect a Device; a dialog will pop up.
4. In this dialog, select your device, then click Pair.
5. Now select your update source:
- Click Update Firmware From Server to update the device using one of Tibbo's official .TCU files.
- For WA2000-compatible devices, you can also select Update Firmware From Server (include Wi-Fi firmware) — this will update the internal firmware of the WA2000 as well.
- To upload a .TCU file saved on your PC, click Update Firmware From Local File.

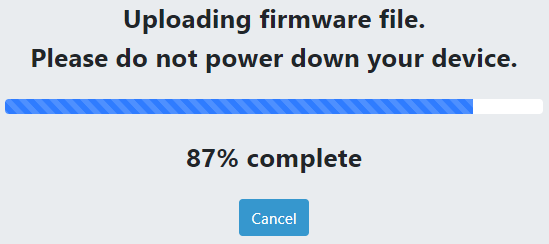
The green status LED will flicker while the .TCU file is being transmitted.
When the file upload completes, your Tibbo device will perform the internal copying of the received data. The green and red status LEDs will be solid on during the copying. This is the "critical section" of the procedure.
Do not disconnect the power or reset your Tibbo device while the file is uploading or in the "critical section" of the update procedure. Doing so may brick the hardware!
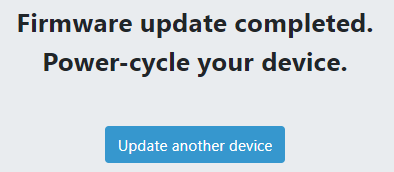
The device will reboot automatically when the update is complete.