One-Time Programmable (OTP) Memory
The Plus1 features 128 bytes of one-time programmable (OTP) memory. This special memory area can be used to record data that will not change.
To write to the OTP memory, you'll need:
- OTP Tool (click here to download)
- A DC power source capable of delivering 2.5V
Write Procedure
To write to the OTP memory, you'll need physical access to the host board. The following instructions assume that board is a Size 3 Linux Tibbo Project PCB (LTPP3), Gen. 2. If your Plus1 is installed on a custom PCB, please refer to the SP7021 datasheet for details regarding to which pin you'll need to apply voltage.
- Apply 2.5V to CN4
- Open the OTP Tool
- Click File > Open File
- Select the OTP table file
- Click Open
- Click Setting > COM Port
- Select the COM Port for your LTPP3(G2)
- Select a baudrate of 115200
- Click OK
- Click Connect
- Power on the LTPP3(G2)
- Click Read
- Click the checkbox in the Bit column for the section to which you will write
- Input the data you will write to this section in the write column
- Click Write
Reading OTP Memory
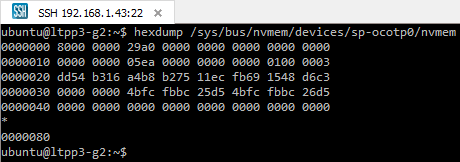
To read the entire OTP memory, run this command from a terminal on your system:
hexdump /sys/bus/nvmem/devices/sp-ocotp0/nvmem

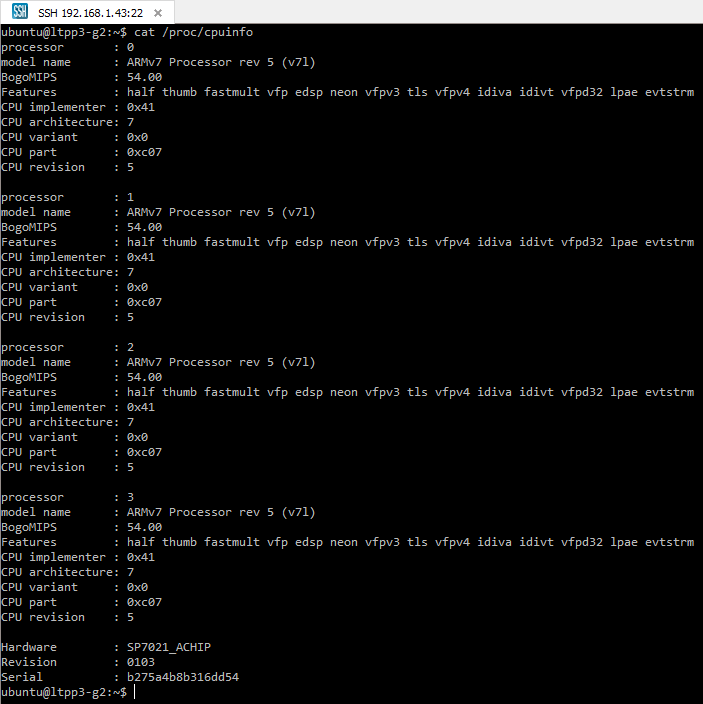
If you just need to see the serial number, which is a limited portion of the OTP memory, run:
cat /proc/cpuinfo

